Embroidery digitizing is where creativity meets technology. Whether you're a hobbyist dreaming of personalizing your creations at home or an entrepreneur launching a custom embroidery business, learning digitizing can unlock massive potential.
In this guide, we’ll break down everything you need to know about embroidery digitizing — what it is, how to learn embroidery digitizing it step-by-step, what tools you need, and how to get started for personal projects or commercial success.
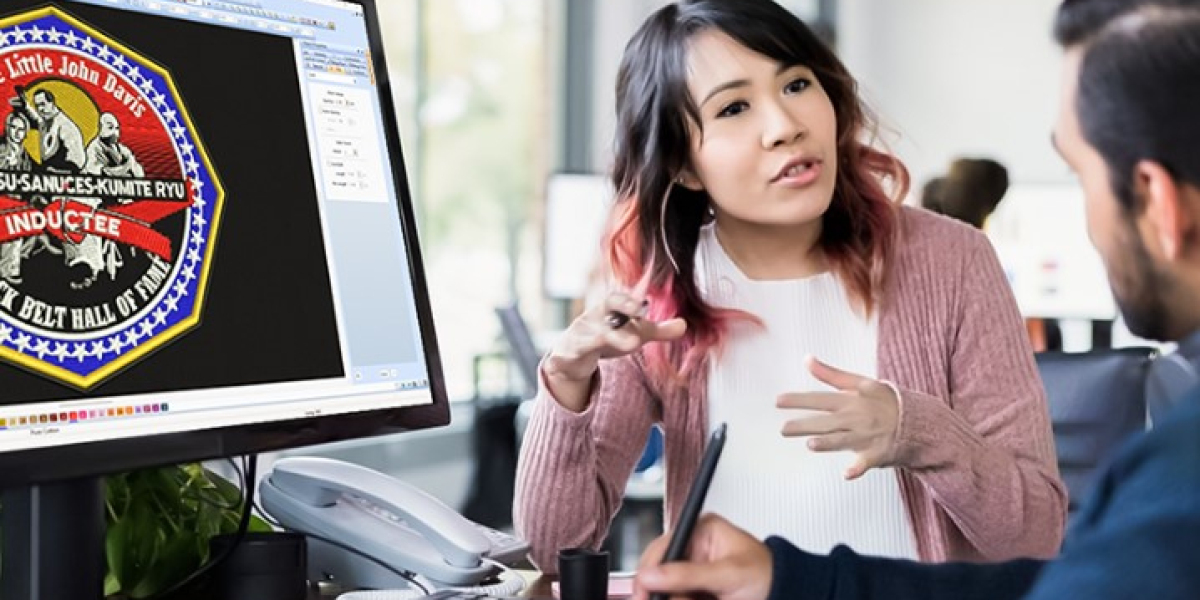
Want to skip the learning curve? Digitizing Buddy offers fast, affordable custom digitizing services for businesses and hobbyists alike. Turn your logo or artwork into machine-ready stitch files no software needed!
What Is Embroidery Digitizing?
Embroidery digitizing is the process of converting artwork (like logos, text, or illustrations) into a digital stitch file that an embroidery machine can read and sew.
Unlike simply scanning an image, digitizing involves:
- Mapping out stitch types (satin, fill, run, etc.)
- Defining stitch directions
- Adjusting for fabric type and stretch
- Ensuring clean pathing and trim commands
In short, you're turning a flat image into a 3D, textured thread design.
Why Learn Embroidery Digitizing?
Whether you're just curious or planning to launch a business, there are big benefits to mastering this skill:
For Home Use
- Personalize clothing, bags, and gifts
- Digitize your children’s drawings into stitched keepsakes
- Save money on outsourcing designs
For Business
- Offer digitizing services as a freelancer
- Create custom designs for clients
- Add a valuable skill to your embroidery shop
And with embroidery machines becoming more accessible, many people are starting side hustles right from their homes.
Embroidery Digitizing vs. Graphic Design: What’s the Difference?
This is a common confusion.
A graphic designer creates logos and illustrations for screen or print — using color, gradients, and shapes. A digitizer translates that graphic into stitches, taking into account:
- Machine limitations
- Stitch density
- Thread pull
- Fabric resistance
That means you can’t just "upload a PNG and go." It takes strategy, precision, and an understanding of both design and embroidery.
What You Need to Start Digitizing
Here’s what you’ll need to get started:
1. Embroidery Digitizing Software
Your most important tool. Some of the most popular options include:
Software | Best For | Key Features |
Wilcom Hatch | Beginners & pros | Auto-digitize, manual tools, tutorials |
Embird | Budget-conscious users | Modular pricing, basic to advanced |
Brother PE-Design | Brother machine owners | Optimized for PES format |
SewArt | Beginners | Simple auto-digitizing at low cost |
TruEmbroidery (Mac) | Mac users | Compatible with Mac OS, intuitive |
Pro Tip: Start with free trials to test what feels comfortable.
2. Embroidery Machine (Optional for Practice)
If you’re just learning the software, you don’t need a machine right away. But if you want to test your designs, you’ll need an embroidery machine compatible with file formats like PES, DST, JEF, EXP, etc.
3. Design Files to Practice With
Use free vector or high-resolution JPG/PNG files to start. The cleaner the image, the easier it is to digitize.
How to Learn Embroidery Digitizing (Step-by-Step)
Step 1: Understand the Basics
Learn the common stitch types:
- Satin stitch – for text and outlines
- Fill stitch – for large filled areas
- Running stitch – for detail or underlay
Also, learn about fabric types, hooping, pull compensation, and thread tension.
Step 2: Choose Your Software & Explore Tutorials
Install a digitizing program and follow its built-in tutorials or YouTube guides. Focus on:
- Importing artwork
- Outlining and defining stitch areas
- Adjusting stitch settings
- Saving to machine formats like PES, DST, etc.
YouTube Channels like "Hatch Academy", "LindeeG Embroidery", and "Embroidery Legacy" are goldmines for free learning.
Step 3: Start with Auto-Digitizing (Then Move to Manual)
Auto-digitizing lets you import an image and quickly turn it into stitches with minimal effort. It’s a great way to understand the basics — but don’t rely on it long-term.
As you gain confidence, switch to manual digitizing, where you have full control over each stitch. This is where true quality shines, especially for logos or commercial work.
Step 4: Test Your Files
Use your embroidery machine or send them to a service like Digitizing Buddy to test-run your file and make sure it stitches correctly.
Watch out for:
- Gaps between stitches
- Thread breaks or looping
- Misaligned areas
Each test helps you improve your next design.
Starting a Home Business with Digitizing Skills
Once you’ve mastered the basics, embroidery digitizing opens the door to a profitable business.
Business Ideas:
- Offer digitizing services for logos, monograms, school emblems, sports teams
- Sell pre-digitized designs on Etsy or your own website
- Partner with embroidery shops to offer them your files
What You’ll Need:
- Digitizing software
- File organization system
- File format knowledge for major brands (Brother – PES, Tajima – DST, Janome – JEF)
And, most importantly — a portfolio of well-tested files.
Don’t Want to Learn It All Yet? Use a Trusted Service
Digitizing has a learning curve. If you need a quick turnaround or professional results while you learn, outsourcing can help.
Digitizing Buddy offers:
- Fast digitizing from JPG, PNG, or vector files
- Machine-ready formats (DST, PES, EXP, etc.)
- Affordable pricing and revisions included
Use their files as samples to understand quality digitizing in action — it’s a great learning tool.
FAQ: Common Questions About Learning Digitizing
Do I need to know graphic design?
Not necessarily. It helps to understand basic design principles, but embroidery digitizing is its own unique skill.
Can I digitize on an iPad?
You can edit and preview embroidery files on iPad with apps like Embroidery Viewer or Procreate (for sketching), but full-feature digitizing is best done on a computer.
How long does it take to learn?
With daily practice, you can learn the basics in 1–2 weeks. Becoming truly proficient (especially for business use) can take 1–3 months depending on effort.
Final Thoughts: Is Embroidery Digitizing Worth It?
Absolutely. Whether you’re customizing your own gear or launching a brand, embroidery digitizing is a valuable and in-demand skill.
- You gain full control over your designs
- You save time and money
- You can turn creativity into profit
But don’t stress about learning it all at once. Start small, practice often, and lean on services like Digitizing Buddy when needed.