Let's be honest—setting up a new printer can feel like solving a puzzle that's missing half its pieces. One minute you're excitedly unboxing your shiny new device, and the next you're staring at a tangle of cables, wondering why something so essential to modern life has to be so complicated. But here's the thing: Printer Setup doesn't have to be the nightmare it's often made out to be.
I've been through this dance more times than I care to count, both personally and helping friends, family, and colleagues get their printers up and running. What I've learned is that most printer setup frustrations stem from skipping crucial early steps or not understanding what your specific printer actually needs to work properly.
The Foundation: Getting Your Printer Ready
Before we dive into the technical stuff, let's talk about the basics that many people overlook. When you first unbox your printer, resist the urge to immediately plug everything in and start pressing buttons. Trust me on this one—a few minutes of preparation will save you hours of troubleshooting later.
First, find a stable, level surface near your computer or in a central location if you're planning to share the printer across multiple devices. Your printer setup will be much smoother if you're not constantly adjusting its position or dealing with connectivity issues because it's too far from your router.
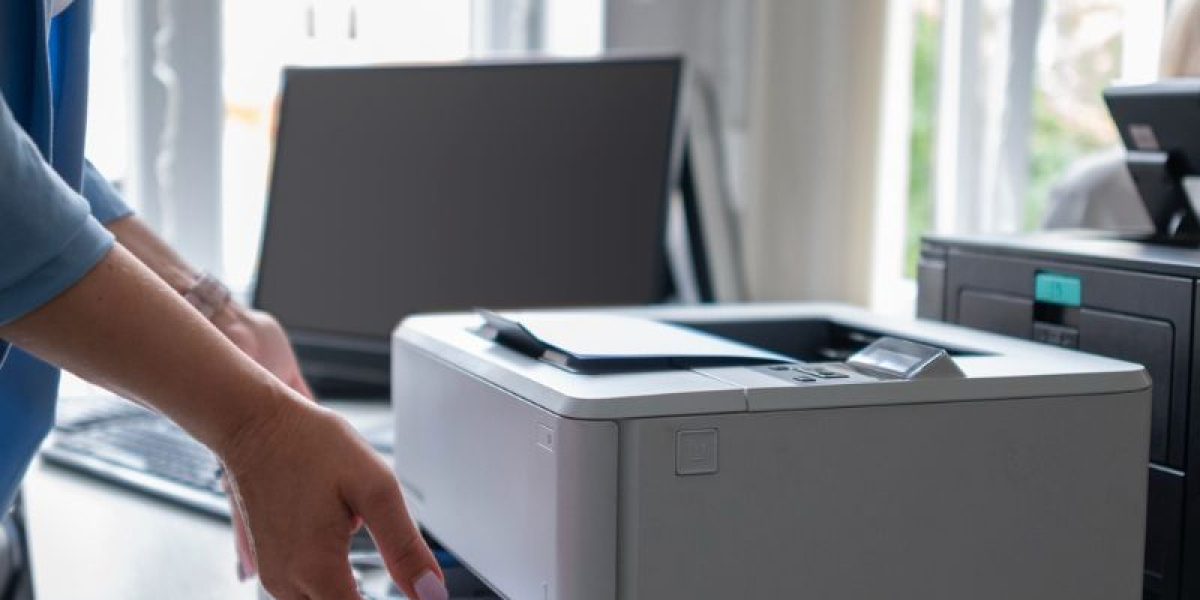
Next, remove all the protective tape and packaging materials. This might seem obvious, but you'd be surprised how often printer setup fails simply because someone forgot to remove that crucial piece of tape covering a sensor or blocking the paper path. Check the manual for specific guidance—most manufacturers include a checklist of what to remove and when.
The Power-Up Process That Actually Works
Here's where most people go wrong with their printer setup: they plug everything in at once and expect magic to happen. Instead, let's approach this systematically.
Start by connecting your printer to power, but don't connect it to your computer yet. Turn it on and let it go through its initial startup routine. Most modern printers will walk you through some basic setup steps on their display panel, including language selection and basic preferences.
During this initial printer setup phase, your device will likely ask you to install ink cartridges or toner. Don't skip this step or try to rush it. Properly seating the cartridges now prevents countless headaches later. If your printer has a print head alignment feature, run it now—it only takes a few minutes and dramatically improves your print quality from day one.
Connecting to Your Network: The Modern Way
Gone are the days when printer setup meant dealing with parallel ports and serial cables. Today's wireless printer setup is actually quite straightforward once you know the process.
Most contemporary printers support Wi-Fi Direct or have their own setup wizard that appears on the printer's display. Look for network settings in your printer's menu and select your home Wi-Fi network. You'll need your network password handy, but once connected, your printer setup becomes much more flexible.
If you're dealing with an older printer or having wireless issues, don't despair. USB connections are still perfectly valid for printer setup, and they're often more reliable than wireless connections, especially if you're primarily printing from one computer.
Software Installation: The Part Everyone Wants to Skip
I get it—downloading and installing printer software feels tedious. But here's the reality: proper printer setup almost always requires the manufacturer's software, even if your operating system claims it can handle everything automatically.
Head to your printer manufacturer's website and download the latest drivers for your specific model. Yes, even if you bought the printer yesterday, there might already be updated software available. This step in your printer setup process ensures you have access to all your printer's features, not just basic printing.
During the software installation, you'll typically be prompted to connect your printer to your computer. This is when you'd plug in that USB cable or confirm your wireless connection. The software will walk you through the rest of the printer setup process, including test prints and feature configuration.
Testing and Troubleshooting Your Setup
A successful printer setup isn't complete until you've printed a few test pages. Start with a basic text document—something simple that will tell you if your fundamental connection is working. Then try a page with graphics or colors to test your print quality.
If something isn't working correctly, don't panic. Most printer setup issues fall into a few common categories: connection problems, driver issues, or hardware setup mistakes. Check your connections first, then verify that your printer appears in your computer's device list.
Making Your Printer Setup Last
Once you've got everything working, take a few minutes to configure your preferences. Set your default paper size, print quality, and any other settings you use regularly. A little time invested in fine-tuning your printer setup now saves clicks and confusion with every future print job.
Consider setting up mobile printing if your printer supports it. Most modern devices can connect to smartphones and tablets, expanding your printing options significantly.