Do you want cleaner air in your home? One fun way to help clean the air is to install a UV light in your HVAC system. HVAC stands for Heating, Ventilation, and Air Conditioning. It is the system in your house that makes it warm in winter and cool in summer. A UV light helps to kill germs like bacteria, mold, and viruses that can make you sick. Here, you will learn what a UV light is, why it is good for your home, and a simple guide on how to install one.
Why Should You Install a UV Light in Your HVAC?
There are many reasons to add a UV light to your HVAC system:
- Kills Germs: The UV light stops bacteria, viruses, and mold from growing.
- Improves Air Quality: With fewer germs in the air, you breathe cleaner air.
- Helps the HVAC Work Better: When the coils and ducts in the HVAC system are clean, the system works more efficiently.
- Saves Money: A clean system may use less energy, and you may not have to clean it as much.
- Makes Your Home Healthier: With fewer germs, you can feel better and stay healthier.
When you choose to install a UV light, you are taking an important step to make your home a safer place. However, if you want UV Light Installation Services in Norcross and Nearby Areas, contact MMI Home Improvement Pro.
What You Need for the Job
Before you start, make sure you have all the tools and parts you need. Here is a list:
- A UV-C light kit (this kit should have the UV lamp, a power unit called a ballast, and screws or brackets to mount it)
- A screwdriver or drill with bits
- Wire strippers, electrical tape, and wire connectors
- A power tester (to check if the power is off)
- Safety gear: gloves and safety glasses
- A pencil and a ruler (for measuring)
- A piece of paper with a template (if the kit gives you one)
Step-by-Step Guide to Install a UV Light
Follow these steps to install a UV light in your HVAC system. Make sure to ask an adult for help, especially when dealing with electricity.
Step 1: Turn Off the Power
Safety is the most important part of any project. Before you do any work, turn off the power to your HVAC system.
- Find the circuit breaker box in your house. This is a small metal box that controls the power.
- Flip the switch for your HVAC system to the “off” position.
- Use a power tester to make sure no electricity is running. This step will keep you safe from electric shocks.
Step 2: Choose the Best Place
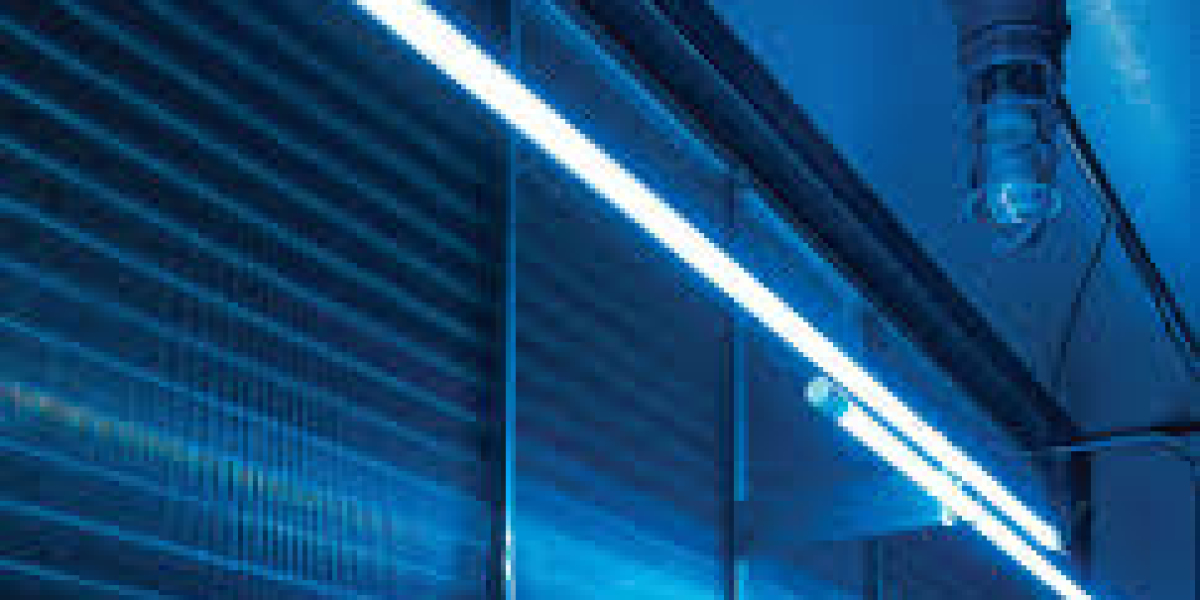
The UV light works best when it shines on the parts of the HVAC system that can get dirty. The best place is often near the evaporator coil or inside the air handler.
- Evaporator Coil: This is a part that cools the air and can get moldy if it is not kept clean.
- Air Handler: This part moves air around your house.
When you install a UV light, choose a spot where the light will hit the coil or the inside of the air handler. This makes sure the light can kill as many germs as possible.
Step 3: Mark the Spot
Use a pencil and a ruler to mark the spot where you want to put the UV light. If your kit has a template, tape it to the area.
- Make sure the mark is in a good spot where the light can shine on the germs.
- Double-check the mark with the instructions from your UV light kit.
Step 4: Make a Hole if Needed
Some HVAC systems need a small hole so the UV light can be mounted. If your kit says to make a hole, ask an adult to help you with a drill.
- Put on your safety glasses.
- Use the right size drill bit to make a small hole in the metal or ductwork.
- Make sure the hole is clean and smooth so the UV light can fit.
Step 5: Mount the UV Light Unit
Now, it is time to attach the UV light to your HVAC system.
- Hold the UV light unit against the marked spot.
- Use screws or brackets that came with your kit to secure the unit.
- Do not tighten the screws too much. You just want the light to stay in place.
Step 6: Connect the Wires
Next, you need to connect the electrical wires. This part is a little tricky, so be very careful.
- Follow the wiring diagram that comes with your UV light kit.
- Strip the ends of the wires using a wire stripper.
- Connect the wires from the UV light unit to the wires from the HVAC system. Make sure the colors match (for example, black to black, white to white).
- Use wire connectors and wrap the connections with electrical tape to keep them secure.
- Ensure that the unit is properly grounded. This is very important to keep it safe.
Tip: If you are not sure about the wiring, ask an electrician or a professional for help.
Step 7: Test the UV Light
After you have connected the wires, it is time to test if the UV light works.
- Go back to the circuit breaker box and turn the power back on.
- Look at the UV light from a safe distance. You should see a faint blue glow.
- If you do not see the light, check the wiring again or ask for help.
Step 8: Secure the Wires and Finish Up
Now that the UV light is working, secure any loose wires with zip ties or extra tape.
- Make sure the wires do not block any moving parts of the HVAC system.
- Replace any covers or panels that were taken off.
- Double-check that the UV light is in the right position and that everything looks neat.
Step 9: Regular Maintenance
To keep your UV light working well, you need to do some regular maintenance:
- Clean the UV Lamp: Every few months, clean the lamp gently with a soft cloth. Dust can block the light.
- Replace the Bulb: The UV bulb usually lasts about one year. Follow the instructions to replace it when needed.
- Check the Wires: Look at the wiring from time to time to make sure everything is tight and safe.
Read: What is a good source of UV Light at home?
Safety Tips When Working with UV Lights
- Never Look Directly at the UV Light: The UV-C light can hurt your eyes and skin. Always look away and use protective glasses.
- Always Turn Off the Power: Before you start any work, double-check that the power is off.
- Ask for Help: If any step seems too hard, ask an adult or a professional to help you.
Should You Do It Yourself or Hire a Professional?
Many people choose to do this project themselves because it can save money. If you have some experience with simple tools and basic wiring, you might be able to install a UV light by yourself. But if you are not sure, it is a good idea to hire a professional. Here are some things to think about:
- DIY Installation:
- Saves money on labor.
- Gives you the chance to learn how things work.
- Requires careful attention to safety.
- Professional Installation:
- Is safer, especially with electrical work.
- Comes with a guarantee or warranty.
- Make sure that the installation follows all local rules and codes.
How Does This Make Your Home Better?
Installing a UV light in your HVAC system has many benefits for your home:
- Better Air: The UV light kills germs that can cause allergies or make you sick.
- Lower Bills: A clean HVAC system runs better, which can lower your energy costs.
- Less Cleaning: With fewer germs and less mold, your system stays cleaner longer.
- Longer Lasting HVAC: A well-maintained system can work for many years, saving you money on repairs.
By choosing to install a UV light in your HVAC system, you help make your home a healthier and more comfortable place to live.
A UV light is a powerful tool for making your HVAC system work better and keeping your home healthy. By learning how to install a UV light and following the simple guide above, you are taking a big step toward clean air and a better living environment. Enjoy your new, cleaner air and the peace of mind that comes with knowing your home is protected!