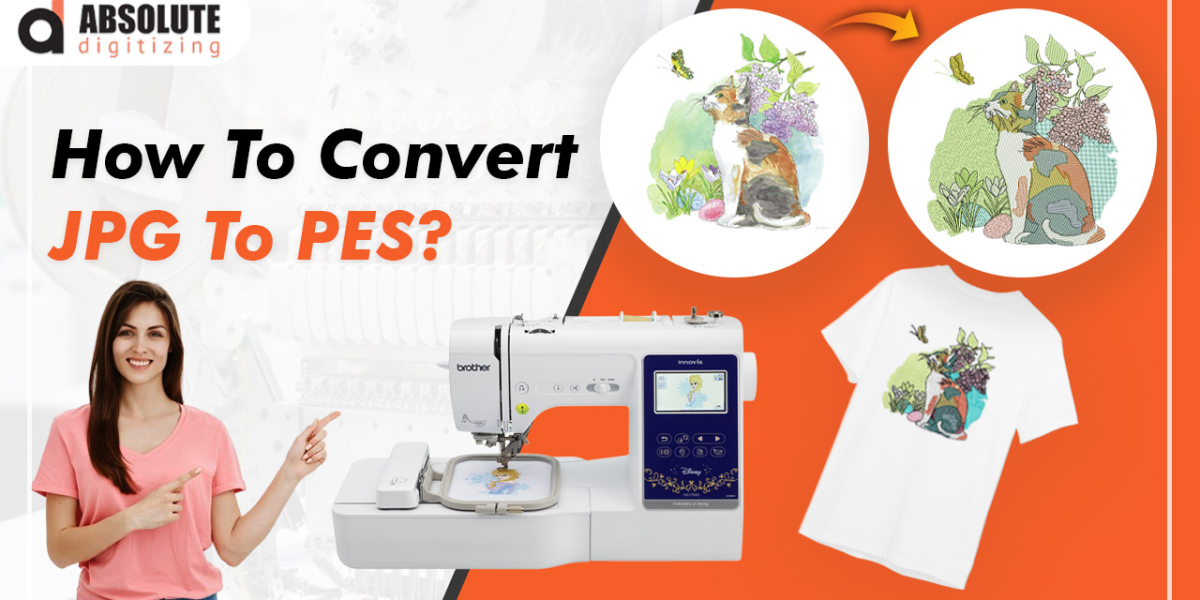
If you’ve ever wanted to turn a favorite image into an embroidered design for your Brother sewing or embroidery machine, you’ve probably run into one big hurdle: embroidery machines don’t read JPG files. Instead, they need specialized formats like PES, which is the file type used by Brother machines. Converting a JPG to PES isn’t as simple as changing a file extension—it requires a process called embroidery digitizing.
In this guide, we’ll walk you through the best ways on how to convert JPG to PES embroidery file that your Brother machine can stitch out perfectly. Whether you’re a hobbyist or a small business owner, understanding this process will save you time, money, and frustration.
Why Can’t You Just Upload a JPG to an Embroidery Machine?
Before diving into the conversion process, it’s important to understand why you can’t just load a JPG directly into your Brother machine. A JPG is a raster image—made of pixels—while an embroidery file (like PES) is a set of stitch instructions telling the machine exactly where to place each thread.
Think of it like this:
- A JPG is like a printed photograph—it shows colors and shapes but doesn’t tell a sewing machine how to recreate it in thread.
- A PES file is like a recipe—it contains step-by-step directions on stitch type, direction, density, and color changes.
Since embroidery involves thread moving through fabric, the design must be carefully translated into stitches. That’s where digitizing software comes in.
How to Convert JPG to PES: 3 Best Methods
There are a few different ways to turn a JPG into a PES file, depending on your budget, skill level, and how often you plan to digitize designs.
1. Use Auto-Digitizing Software (Fast & Easy, but Limited)
If you’re new to embroidery digitizing, auto-digitizing tools can be a quick way to convert simple designs. These programs analyze your JPG and automatically generate stitch patterns.
Best Auto-Digitizing Software for PES Files:
- SewArt (by S&S Computing) – Affordable and beginner-friendly.
- Embrilliance Essentials – Works well for basic designs.
- Ink/Stitch (Free plugin for Inkscape) – Open-source option for those willing to learn.
Steps to Convert JPG to PES Using Auto-Digitizing Software:
- Import your JPG into the software.
- Use the auto-digitize tool to generate stitches.
- Adjust settings like stitch density and underlay.
- Export as PES and test on fabric.
Pros:
✔ Fast and easy for simple designs.
✔ No advanced digitizing skills needed.
Cons:
❌ Complex designs may turn out poorly.
❌ Limited control over stitch types and details.
2. Manual Digitizing (Best Quality, but Requires Skill)
For professional results, manual digitizing is the way to go. This involves using specialized software to hand-place every stitch, ensuring the design sews out smoothly.
Best Professional Digitizing Software:
- Wilcom Hatch – Industry-standard for high-quality digitizing.
- Pulse IDS – Great for commercial embroidery.
- Brother PE-Design – Made specifically for Brother machines.
Steps to Manually Digitize a JPG into PES:
- Trace the design in the software, outlining key areas.
- Assign stitch types (satin for text, fill for large areas).
- Set stitch direction and density to prevent puckering.
- Add underlay stitches for stability.
- Export as PES and test sew.
Pros:
✔ Full control over stitch quality.
✔ Best for logos, detailed art, and professional work.
Cons:
❌ Steep learning curve.
❌ Expensive software for advanced users.
3. Hire a Professional Digitizer (Best for Complex Designs)
If you have a complicated image (like a portrait or intricate logo), hiring a digitizing service ensures perfect results. Websites like Etsy, Fiverr, or Upwork have freelancers who can convert your JPG to PES for a small fee.
When to Hire a Digitizer:
- You need a highly detailed design (photorealistic embroidery).
- You don’t want to invest in expensive software.
- You need multiple designs digitized quickly.
Pros:
✔ Professional-quality PES files.
✔ No need to learn digitizing yourself.
Cons:
❌ Costs more than DIY methods.
❌ Turnaround time depends on the freelancer.
Common Problems When Converting JPG to PES (And How to Fix Them)
Even after converting, you might run into issues when stitching. Here’s how to troubleshoot:
1. Design Looks Pixelated or Blurry
- Cause: Low-resolution JPG.
- Fix: Use a high-quality image (300 DPI or higher).
2. Thread Breaks or Skipped Stitches
- Cause: Too many stitches in one area.
- Fix: Reduce stitch density in your digitizing software.
3. Fabric Puckers When Embroidering
- Cause: Not enough underlay or improper tension.
- Fix: Add more underlay stitches or stabilize the fabric better.
4. Small Text is Unreadable
- Cause: Letters are too tiny for satin stitches.
- Fix: Simplify text or make it larger before digitizing.
Free & Paid Tools to Convert JPG to PES
Tool | Type | Price | Best For |
Ink/Stitch | Free plugin | $0 | Hobbyists, simple designs |
SewArt | Auto-digitizing | $99 | Beginners |
Embrilliance | Semi-auto | $199 | Intermediate users |
Wilcom Hatch | Professional | $1,000+ | Businesses & experts |
Final Thoughts: Which Method Should You Choose?
- For quick, simple designs → Try auto-digitizing software.
- For professional, custom embroidery → Learn manual digitizing or hire an expert.
- For one-time projects → Use a freelancer or online service.
Converting JPG to PES isn’t magic—it’s a skill that improves with practice. Whether you DIY or outsource, the key is testing your design on scrap fabric before stitching the final product.
Now that you know how to turn any image into an embroidered masterpiece, what will you create first? A custom logo? A personalized gift? The possibilities are endless!